
[ad_1]
The last article presented the new Raspberry Pi Pico board. In this and the following parts we talk about the different ways in which the board can be brought to life. The journey begins with the free Python IDE Thonny.
The Thonny IDE offers a Python shell that meets rather simple and medium requirements. However, their creators did not develop them for higher requirements. It was developed by the University of Tartu in Estonia to enable an easy introduction to programming with Python.
To illustrate the programming for the pico board, this is more than sufficient. Before the series of articles talks about sophisticated IDEs for pros, Thonny-IDE helps you to get your first experience with the Raspberry Pi Pico. In addition, the free IDE is already preinstalled on Raspberry Pi OS, so that Raspi users have nothing more to do and can now sit back and relax. Last but not least, it should be noted that the programming environment includes a complete implementation of Python 3.7, which is why no further installation orgies turn out to be necessary.
On the Thonny website versions for Windows, macOS or Linux distributions can be downloaded:
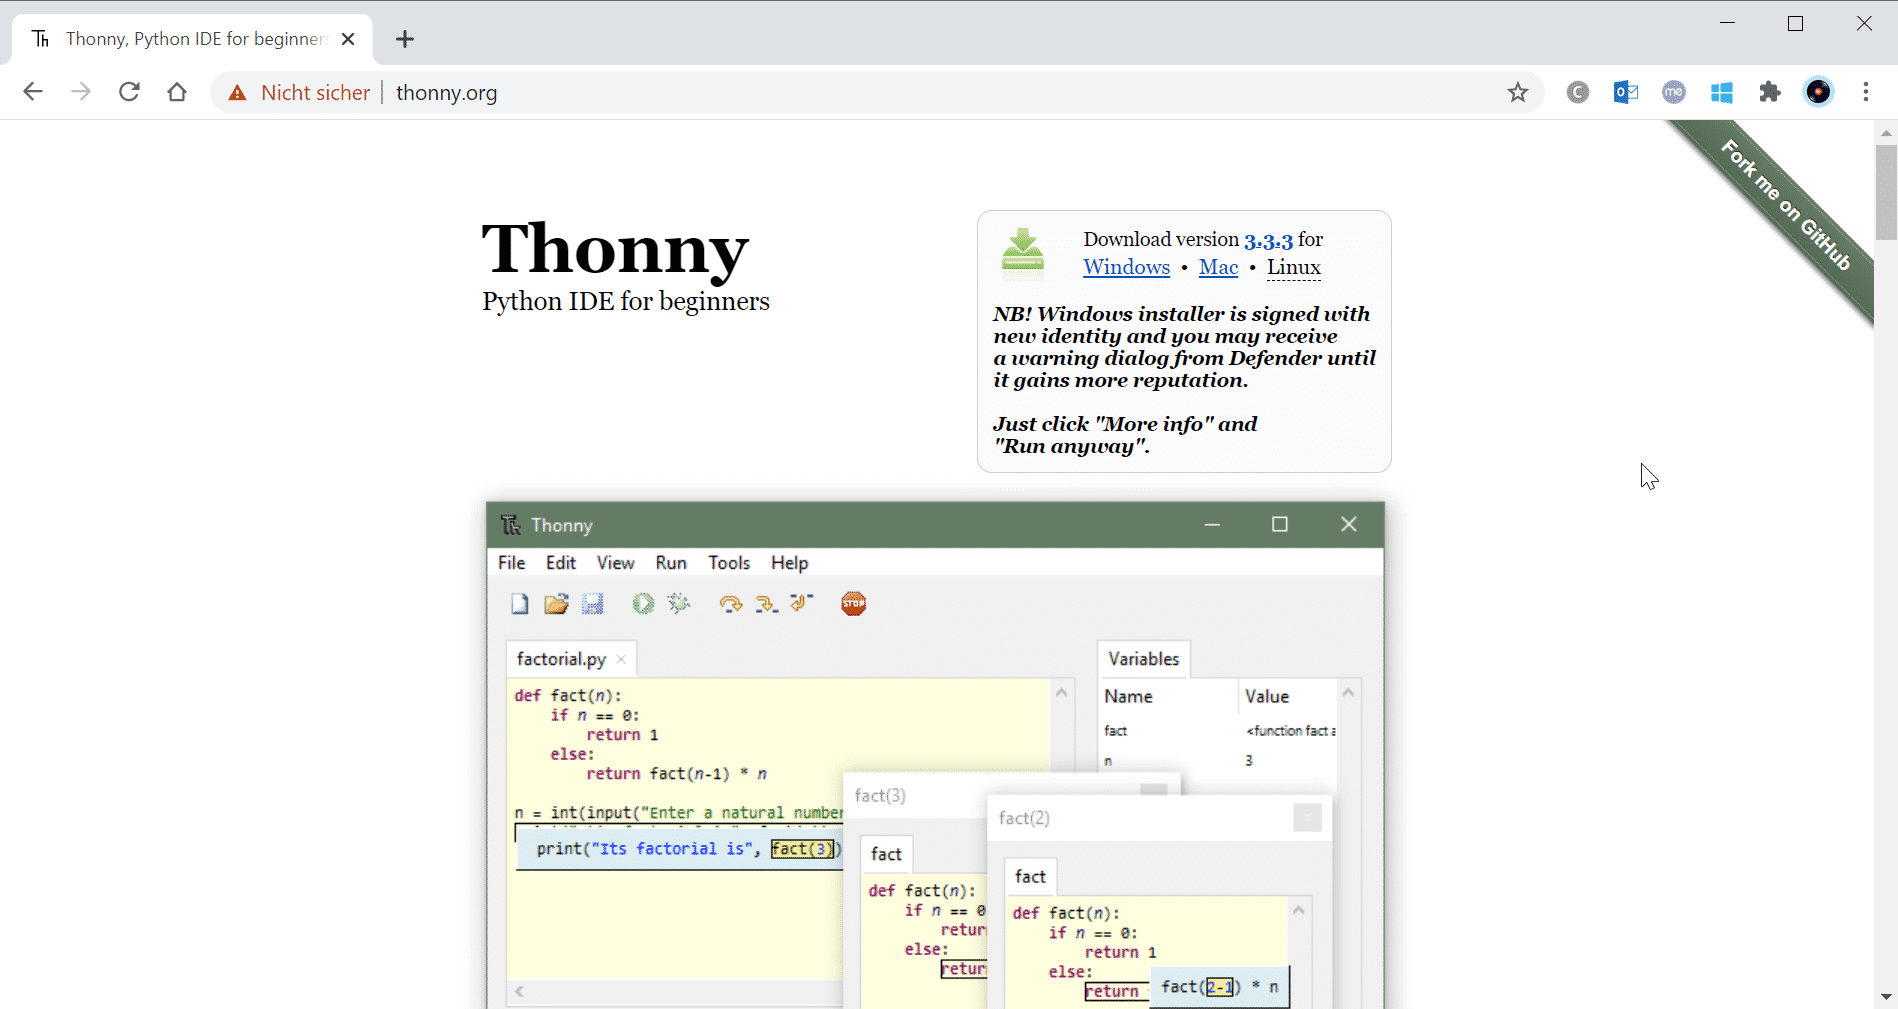
Website of the Python IDE thonny.org
Installation of the IDE
After completing the download on Windows or macOS, users start the installation by executing the installation package. Linux users either use their respective package manager or other installation options (see Thonny on GitHub).
The illustration for Windows PCs is an example. After starting the installation you get the following picture:
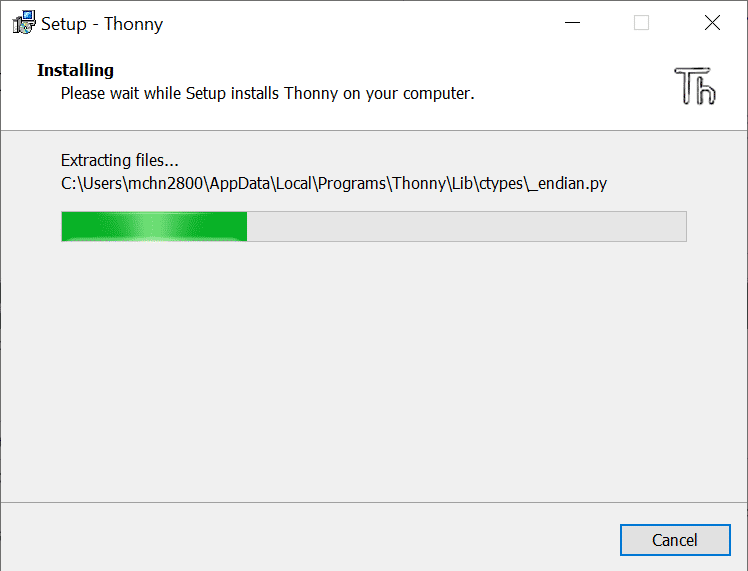
Installation of the Thonny IDE on Windows
The program can then be found on the target system. When starting the installed IDE, Thonny’s simple IDE window opens, which contains an editor in the upper half and a REPL shell (Read Eval Print Loop) in the lower half. The Shell is an ideal playground for interactive experimentation.
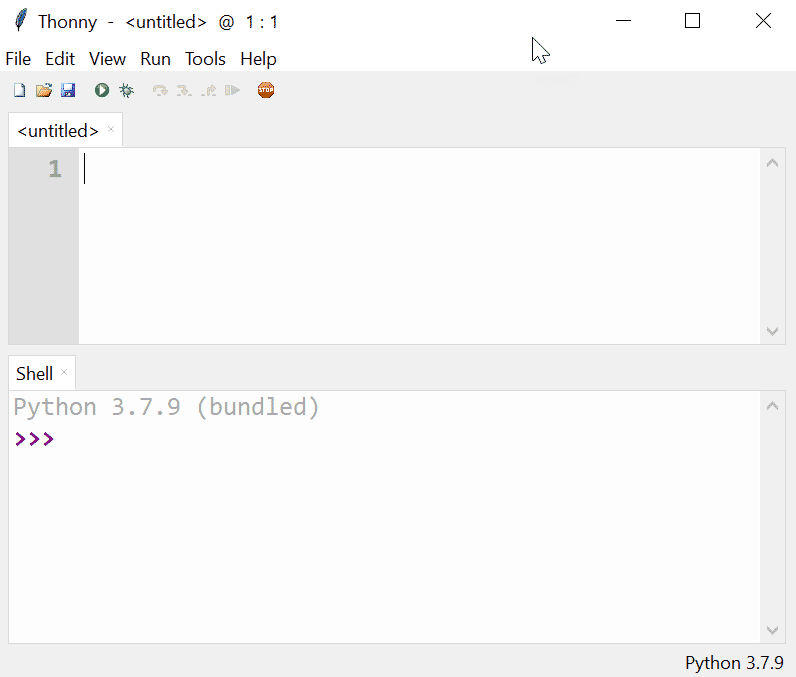
Thonny’s start screen
At the bottom right of the window, Thonny shows the currently used Python interpreter in text form, in this case Python 3.7.9. However, only slimmed-down Python variants such as CircuitPython or MicroPython run on most embedded boards, whereby the Pico supports the latter by default.
To get the suitable variant, all you have to do is click on the text field “Python 3.7.9”. Thonny then offers a selection menu with all supported interpreters, including “MicroPython (Raspberry Pi Pico)”:

Selection of Python interpreters in the Thonny IDE
Before selecting MicroPython, developers should press and hold the Raspberry Pi Pico board BOATSELConnect the key to a USB input on the host computer. This means that the board identifies itself to the host as a storage device, such as a memory stick. As mentioned above, developers then select the option “MicroPython (Raspberry Pi Pico)” as the interpreter to be installed in Thonny, whereupon the following dialog appears:
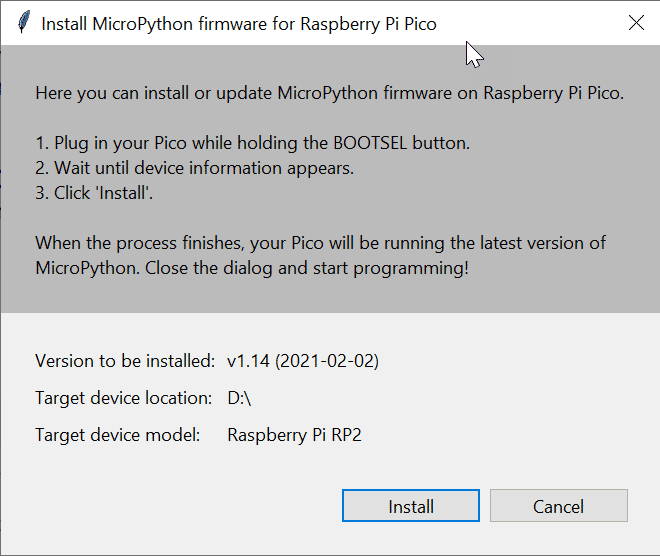
Users click the Install-Button, starts the installation of the MicroPython firmware. After completing the firmware installation, users only need to close the dialog box:
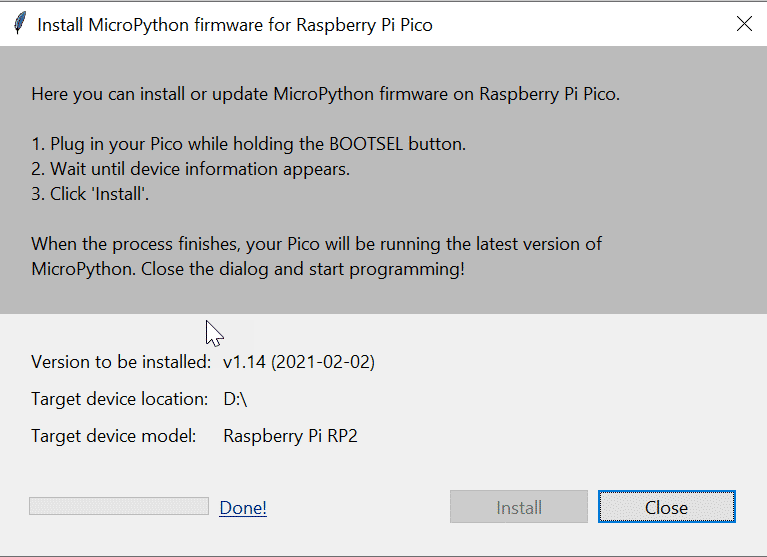
Dialog after the MicroPython firmware installation is complete
The firmware consists of an executable program with the extension .UF2. It can also be transferred manually to the Pico.
Ready for any outrage
The host and Pico are now connected to each other, and developers can either work directly with the MicroPython interpreter via the REPL shell or alternatively enter a program in the editor. It is important at this point that after transferring a MicroPython program to the board (ending: .py) the board first shuts down and then starts up again, whereupon the runtime system automatically executes the Python program.
However, if there are several program files on the board, the Pico does not initially know which one to execute. In this case it looks for a file named main.pyto execute it or remain motionless if it cannot find this file.
Programming with the MicroPython SDK
Now it’s finally time to write a simple MicroPython program to test access to the board’s I / O system. As is traditionally customary, the first program should make the internal LED of the Pico flash before we get to know other possibilities of the Pico in the following episodes:
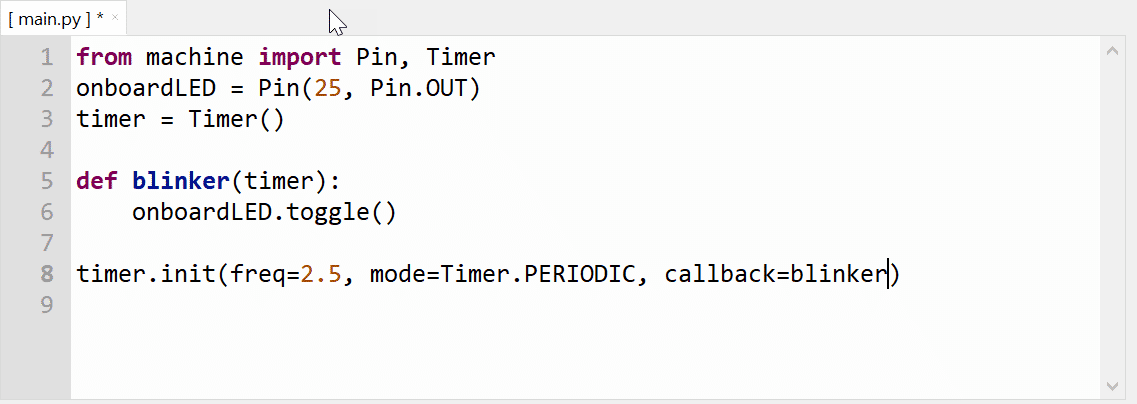
The usual blink program in a pico version
Now let’s dissect the program step by step:
from machine import Pin, Timer
The importStatement uses from the machineLibrary the components Pin and Timer. The former allows access to the I / O ports of the Pico, the latter provides functions for the timing of actions. In general contains – nomen est omen – machine various components for access to the Pico hardware.
onboardLED = Pin(25, Pin.OUT)
The variables are now initialized onboardLED. It should represent GPIO port 25, where the built-in LED is located. Important: The numbers do not refer to physical pin 25, but to GPIO port 25, for which there is not even a physical pin.

The pin layout of the Raspberry Pi Pico – physical and logical pins
The second parameter in the constructor called Pin tells the interpreter how the I / O port is to be used, namely as an output port in the present case. Hence the configuration with Pin.OUT.
timer = Timer()
Here the program initializes the variable timer. More on that in a moment.
def blinker(timer):
onboardLED.toggle()
The method blinker receives an initialized as argument timer-Object. Whenever the timer gives the initiative for this, the call takes place toggle-Method. The sets the output depending on its current state either from 0 on 1 or from 1 on 0which consequently causes the LED to flash.
timer.init(freq = 2.5, mode = Timer.PERIODIC, callback = blinker)
In the initialization method init the program defines a periodically firing timer (Timer.PERIODIC) with a frequency of 2.5. This gives a period of 400 milliseconds. timer for this purpose calls a callback function every 400 milliseconds (callback = blinker). In our case that is the blinker-Method that inverts the output signal for the LED accordingly every 400 milliseconds.
Well secured
After the work is done, developers can either ensure that the program is executed directly on the Pico by clicking on the green icon or the corresponding menu item. Or you save the program on the pico board, whereupon the board resets in order to then start executing the program. Of course, the program file can also be saved on the host computer:
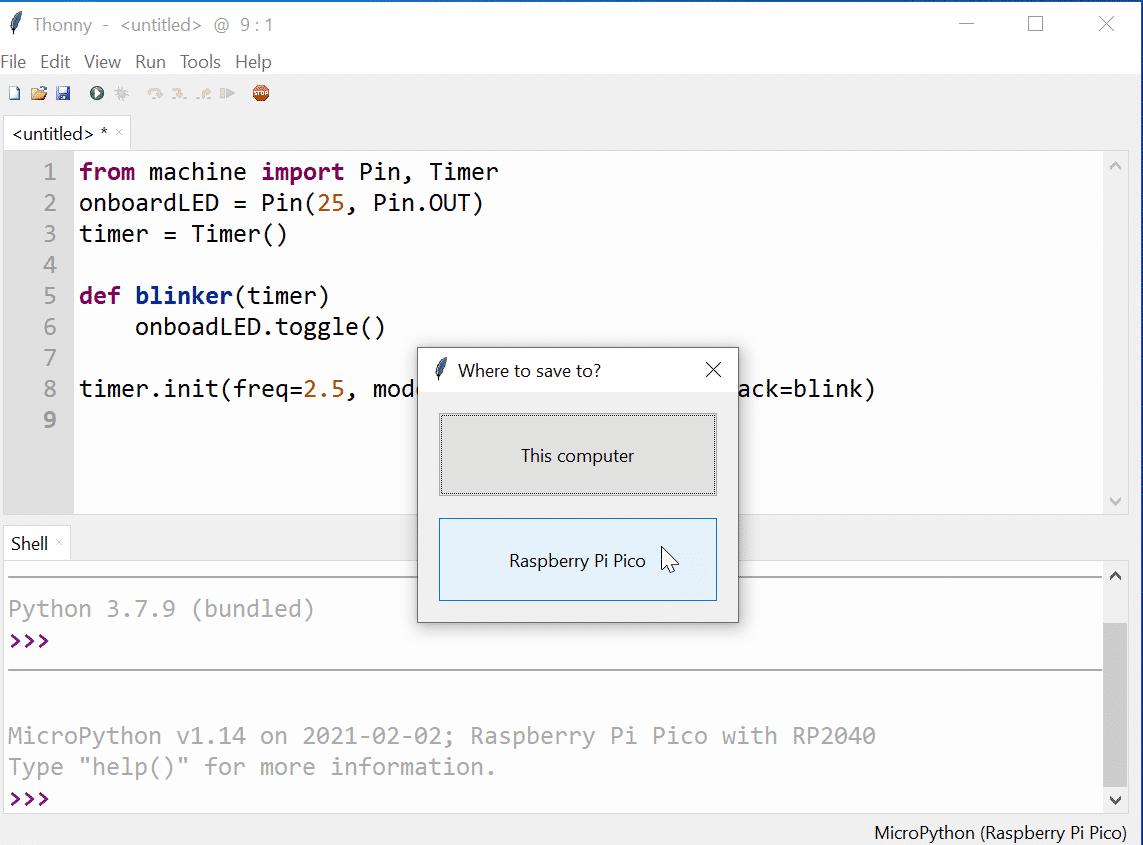
Saving the program file can be done either on the host or on the Pico
Unsurprisingly, the following should now happen:
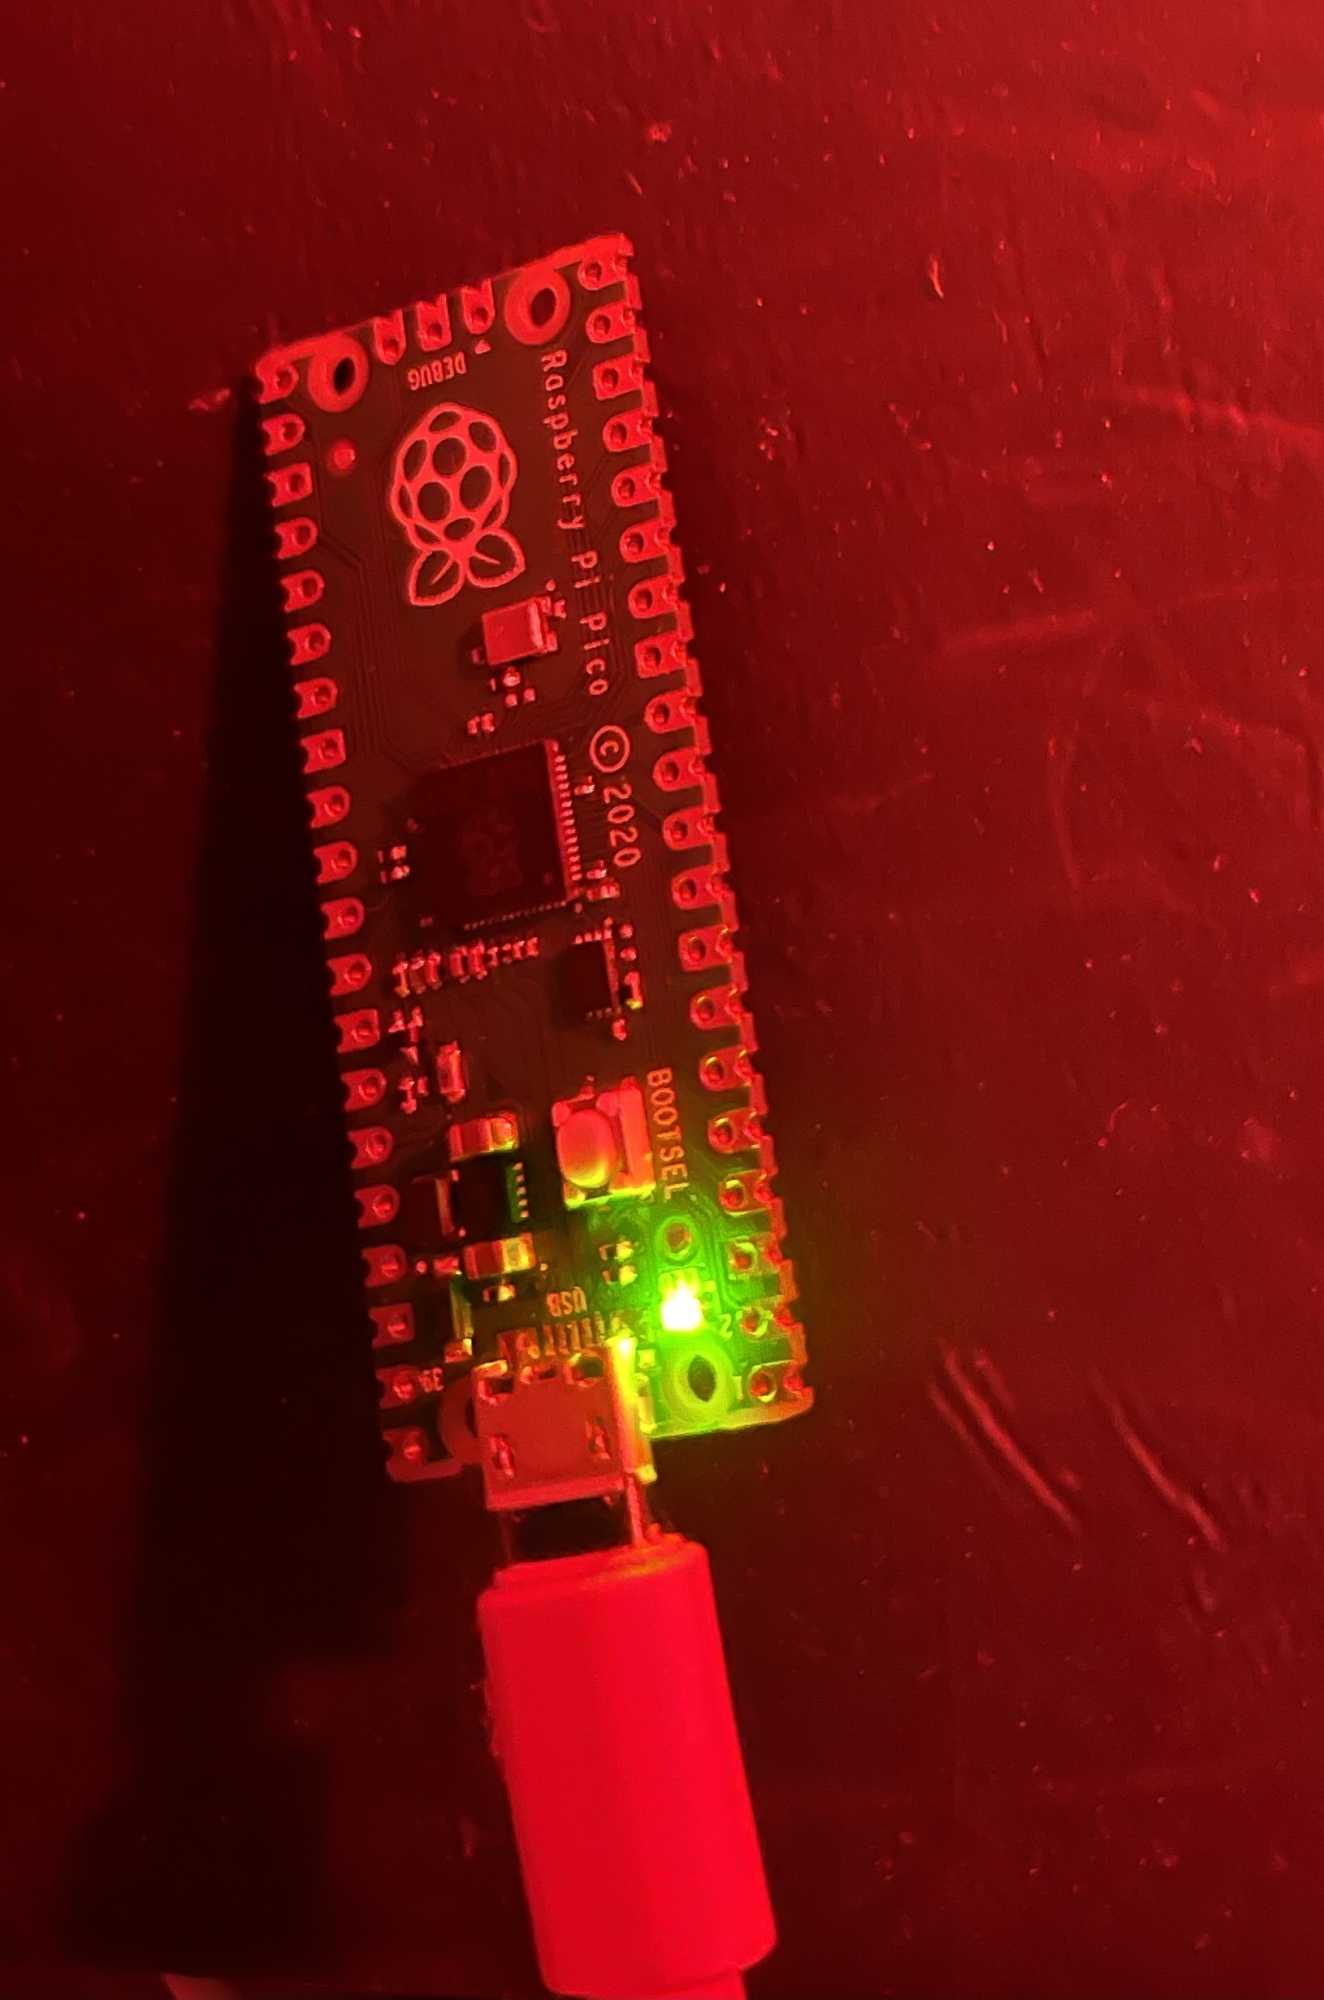
The Pico indicator in action
This would be the first MicroPython for the Raspberry Pi Pico. A trivial example, but an instructive first step.
Conclusion
This article moved in shallow water. The Thonny-IDE is an ideal playground to get to know the Pico interactively. However, it cannot function as a professional development environment. However, it makes it very easy to get started, which was the purpose of this article. I hope you will now have a lot of fun with your own experiments. In the next few parts the fairway will be a bit rougher, but also more entertaining.
Helpful references
[ad_2]