

[ad_1]
Many managers give up even before starting the match just because his/her team is weaker/underdog on paper or sometimes managers wonder why he/she has lost the match even though his/her team was much stronger. To deal with such a situation, read out our top eleven counter formation guide and win matches like a pro.
Top Eleven is the game where on paper superiority is not always significant to win the game. There are several factors like formations and tactics which have a huge impact on the game. Top Eleven gives us the flexibility to use several formations but only a few of them work effectively. Many managers wonder about what formation should be used to get a satisfactory result.
How to select the best counter formation in Top Eleven
The selection of formation should depend on the opposition’s formation and the quality of his/her team. After finishing this paperwork a manager has to choose his/her counter formation accordingly. In this article, we will cover up all the possible formations (mostly used in the game) and their counter formations along with all three (Offensive, Normal, Defensive) modes of mentality.
In the football world, there are three types of formations, viz Offensive/Attacking, Balanced/Neutral, Defensive/Park-the-Bus. Managers have to select your formation according to the situation of the match. If the manager is desperate for goals then go with an offensive formation, if the manager has a healthy lead in the 1st leg of CUP/CL then better to go with a defensive one and give chance to comparatively weaker players of the team, and other than this its always better to start with a balanced formation.
let’s see the formations one by one and before you are going to see that you need to know about some abbreviations which are used in the top eleven counter formation list. They are as follows,
Abbreviation of Top Eleven Counter Formation
| Terms | Abbreviations | Formation |
|---|---|---|
| F | Flat | XX |
| N | Narrow | XX |
| W | Wide | XX |
| B | Butterfly | 3N-2W-2N-2W-1 |
| C | Curved | 3DC & advanced DL+DR |
| D | Dandelion | 3N-1-3W-1-2 |
| H | Hexagon | 4-0-2N-2W-2 |
| V | V-Style | 4-[1-2N-2W]-1 |
| ET | Eiffel Tower | 3-2N-3-1-1 |
| ML | Maple Leaf | 3W-2N-3W-1-1 |
| ND | Narrow Diamond | 4-1-2N-1-2 |
| WD | Wide Diamond | 4-1-2W-1-2 |
| XT | Xmas Tree | 4-0-3W-2N-1 |
| DC–DM–MC–AM–ST |
| 0 — 0 — 0 — 0 — 0 |
Top Eleven Counter Formation: Offensive or Attacking formations
| Sl no | Opponent’s Formation | Your Formation (Offensive) | Your Formation (Neutral) | Your Formation (Defensive) |
|---|---|---|---|---|
| 1 | 3N-5-2 F | 3-1-3N-2W-1 | 4-3N-2W-1 | 3-2-2-2-1 B |
| 2 | 3W-5-2 F | 3-1-3N-2N-1 | 4-5-1 V | 3-2-2-2-1 B |
| 3 | 3N-5-1-1 | 3-1-3N-1-2 | 4-1-2-1-2 ND | 3N-2W-2N-1-2 |
| 4 | 3W-5-1-1 | 3-1-3N-2W-1 | 4-1-2-1-2 ND | 3N-2W-2N-1-2 |
| 5 | 3W-4-3 | 3-5-2 V | 4-2-2-2 H | 3N-2W-3N-2 |
| 6 | 3N-4-3 | 3-5-2 F | 4-3N-2W-1, 4-4-2 C | 5-4-1 F |
| 7 | 3W-1-4-2 | 3-4-1-2 | 4-1-2-1-2 ND | 3N-2W-2N-1-2 |
| 8 | 3W-1-4-1-1 | 3-5-2 V | 4-5-1 V | 3-2-2-2-1 B |
| 9 | 3N-1-4-2 | 3-5-1-1 V | 4-5-1 V | 3-2-2-2-1 B |
| 10 | 3N-5-2 V | 3-1-3N-3 | 4-3N-2W-1, 4-2-2-2 H | 3-2-2-2-1 B |
| 11 | 3W-5-2 V | 3-1-3N-1-2 | 4-2-2-2 H, 4-3N-1-2 | 3-2-2-2-1 B |
| 12 | 3W-2N-3W-2 | 3W-5-2 F | 4-4-2 C | 5-4-1 F |
| 13 | 3N-2(DMC/MC)-3W-2 | 3-1-4-2 | 4-1-2-1-2 ND, 4-4-2 | 3-2-2-2-1 B |
| 14 | 3W-2(DMC/MC)-3W-2 | 3-1-4-2 | 4-4-2, 4-3-3 | 3-2-2-2-1 B |
| 15 | 3N-3(DMC/MC)-2W-2 | 3-1-3N-2W-1 | 4-3N-2W-1 | 3-2-2-2-1 B |
| 16 | 3W-2-3W-1-1 ML | 3N-1-4-2 | 4-5-1 V | 3-2-2-2-1 B |
| 17 | 3W-2N-2W-1-2 | 3W-5-2 V | 4-5-1 V | 3-2-2-2-1 B |
| 18 | 3W-2N-2N-2W-1 | 3-4-1-2 | 4-4-2 C | 3N-2W-3N-2 |
| 19 | 3N-2N-1-2W-2 | 3-1-3W-1-2 | 4-4-2 C | 3-2-2-2-1 B |
| 20 | 3N-1-2-1-3 | 3-1-3N-1-2 | 4-1-3N-2, 4-5-1 V | 3W-3N-3W-1 |
| 21 | 3W-1-5-1 | 3-3N-3W-1 | 4-3N-2W-1 | 3-2-2-2-1 B |
| 22 | 3W-1-3W-2N-1 | 3-5-2 V | 4-5-1 V | 3-2-2-2-1 B |
| 23 | 3N-1-3W-2N-1 | 3-5-1-1 V | 4-5-1 V | 3-2-2-2-1 B |
| 24 | 3W-1-3W-1-2 | 3N-5-2 F | 4-4-2 C | 3-2N-3-1-1 ET |
| 25 | 3N-1-3W-1-2 D | 3-5-1-1 V | 4-5-1 V, 4-4-2, 4-1-2W-1-2 | 3N-3W-2N-1-1 |
| 26 | 3N-1-4-1-1 | 3-1-3-1-2 | 4-1-2-1-2 ND | 5-3-2 F |
| 27 | 3W-1-3N-1-2 | 3-5-2 V | 4-5-1 V | 3-2-2-2-1 B |
| 28 | 3N-4-1-2 | 3-1-3N-2W-1 | 4-1-2-1-2 ND | 3N-2W-2N-1-2 |
| 29 | 3W-4-1-2 | 3-1-3N-1-2 | 4-1-2-1-2 ND | 3N-2W-2N-1-2 |
Top Eleven Counter Formation: The Balanced or Neutral formations
| Sl no | Opponent’s Formation | Your Formation (Offensive) | Your Formation (Neutral) | Your Formation (Defensive) |
|---|---|---|---|---|
| 1 | 4-5-1 F | 3-5-2 F, 3-5-2 V | 4-1-4-1 | 3N-2W-3N-1-1 |
| 2 | 4-5-1 V | 3-3-1-3, 3W-1-2-3W-1 | 4-3N-3, 4-3N-2W-1 | 3N-2W-3N-2 |
| 3 | 4-4-2 C | 3N-4-1-2 | 4-3W-1-2 | 3-2-2-2-1 B |
| 4 | 4-1(DMC)-2-3 | 3-1-4-2 | 4-1-4-1 | 5-3N-2 |
| 5 | 4-1-2-1-2 ND | 3N-5-2 V | 4-5-1 V | 3N-3W-2-1-1 |
| 6 | 4-1-2-1-2 WD | 3-5-2 F | 4-3W-1-2 | 3N-2W-3N-1-1 |
| 7 | 4-1-2-2(AMC)-1 | 3W-2N-1-3W-1 | 4-2(DMC)-2-2 H | 3W-2N-3W-1-1 |
| 8 | 4-1-1-2W-2 | 3N-2N-1-2W-2 | 4-2-3-1 | 3N-3W-2-2 |
| 9 | 4-1-1-2N-2 | 3W-2N-2-2W-1 | 4-5-1 V | 4-3W-2(MC)-1 |
| 10 | 4-2N-1-2N-1 | 3N-1-4-1-1 | 4-1-3-2 | 3W-2N-3N-1-1 |
| 11 | 4-2N-1-2W-1 | 3W-1-4-1-1 | 4-4-2 C | 5-2-2(AML-AMR)-1 |
| 12 | 4-3W-3 | 3-5-1-1 V | 4-5-1 V, 4-4-2 C | 5-4-1 F |
| 13 | 4-3N-3 | 3-4-1-2 | 4-1-4-1 | 5-3N-2 |
| 14 | 4-1-3N-2 | 3-1-3N-2W-1 | 4-3N-2W-1 | 3-2-2-2-1 B |
| 15 | 4-1-3N-1-1 | 3N-5-2 V | 4-5-1 V | 3N-3W-2-1-1 |
| 16 | 4-1-3W-2 | 3-1-4-2 | 4-5-1 V, 4-4-2 C | 3-2-2-2-1 B |
| 17 | 4-1-3W-1-1 | 3-1-4-1-1 | 4-4-1-1 | 5-1(DMC)-2-2 |
| 18 | 4-2(DMC)-3W-1 | 3-1-3-2W-1 | 4-1-4-1 | 3-2-2-2-1 B |
| 19 | 4-2-3N(AMC)-1 | 3-1-4-2 | 4-4-2 C | 3W-2N-3W-1-1, 3W-2N-3W-2 |
| 20 | 4-2-3W-1 | 3-1-3W-1-2 | 4-4-2 C | 5-3W-2 |
| 21 | 4-3N-1-2 | 3-1-3N-2W-1 | 4-3N-2W-1, 4-5-1 V | 3-2-2-2-1 B |
| 22 | 4-3W-1-2 | 3N-1-4-2 | 4-1-4-1 | 3-2-3-1-1 |
| 23 | 4-3W-2N-1 XT | 3-1-5-1 | 4-5-1 F | 3W-2N)-3N-1-1 ET |
| 24 | 4-3N-2N-1 | 3-1-4-1-1 | 4-1-3W-1-1 | 3W-2N-3W-1-1 ML |
| 25 | 4-3N-2W-1 | 3-1-4-1-1 | 4-4-1-1 | 3N-2W-3N-1-1 |
| 26 | 4-2-2-2 H | 3N-4-3, 3N-4-1-2 | 4-5-1 V | 3-2-2-2-1 B |
| 27 | 4-1(DMC)-2(MC)-3 | 3-1-4-1-1 | 4-1-4-1 | 5-1-3N-1 |
| 28 | 4-1-2(AMC)-3 | 3-1-4-2 | 4-1-3W-2 | 5-1-3W-1 |
| 29 | 4-2-1-3 | 3-1-3N-2W-1 | 4-3N-2W-1, 4-5-1 V | 3-2-2-2-1 B |
| 30 | 4-1-4-1 | 3-5-2 V | 4-3N-2W-1, 4-5-1 V | 3-2-2-2-1 B |
| 31 | 4-4-1-1 | 3-5-2 F | 4-5-1 V | 3W-2N-3W-1-1 |
Top Eleven Counter Formation: Defensive or Bus Parking formations
| Sl no | Opponent’s Formation | Your Formation (Offensive) | Your Formation (Neutral) | Your Formation (Defensive) |
|---|---|---|---|---|
| 1 | 5-4-1 F | 3-5-2 Flat | 4-4-2 C | 3W-3N-3W-1 |
| 2 | 5-3N-2 | 3N-4-1-2 | 4-4-2 C | 3N-3W-2-2 |
| 3 | 5-3W-2 | 3N-4-1-2 | 4-4-2 C | 3N-2W-3W-1-1 |
| 4 | 5-1-3N-1 | 3N-5-2 V | 4-1-3-1-1 | 3N-3W-3W-1 |
| 5 | 5-1-3W-1 | 3N-5-2 V | 4-5-1 F | 3N-2W-3W-2 |
| 6 | 5-1-2N-1-1 | 3N-5-2 V | 4-1-3-2 | 3N-2W-2N-2W-1 |
| 7 | 5-1-2W-1-1 | 3N-5-2 V | 4-1-3-2 | 3N-2W-2N-2W-1 |
| 8 | 5-2-2W-1 | 3W-1-2-3W-1 | 4-4-2 C | 3N-2W-3N-2 |
| 9 | 5-2W-2N-1 | 3W-2-2W-1-2 | 4-2-2-2 H | 3W-2-3W-1-1 |
| 10 | 5-2-2N-1 | 3N-1-3W-1-2, 3N-1-3W-3 | 4-2-2-1-1 | 3W-2-3W-2 |
| 11 | 5-2-1-2 | 3N-1-4-2 | 4-1-2N-1-2 | 3N-3W-2-1-1 |
| 12 | 5-1-1-1-2 | 3N-1-3W-1-2 | 4-3N-3 F, 4-2-2-2 H | 3N-2W-2N-1-2 |
| 13 | 3N-2W-3N-2 | 3-5-2 F | 4-5-1 F, 4-1-2-1-2 ND | 5-4-1 F |
| 14 | 3N-2W-2-1-2 | 3-4-1-2 | 4-4-2, 4-1-2-1-2 ND | 3W-3N-3W-1 |
| 15 | 3-2-2-2-1 B | 3-4-1-2 | 4-2-2-2, 4-3N-2W-1 | 3N-3W-2N-1-1 |
Please Note – the game now allowing the managers to customize formation we should stick to old-school formations rather than using strange but valid formations, which I have seen many managers use nowadays and they struggle to cope up at the end
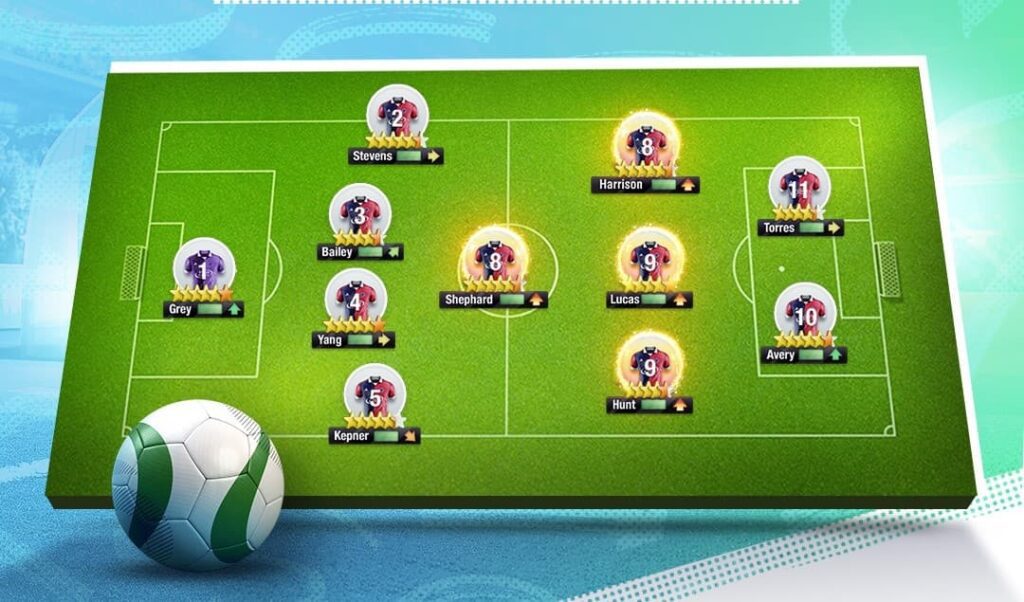
Top Eleven allows Arrow feature or custom direction to players. So with this feature, we can use our formation in a more effective and versatile way.
For more Mobile Gaming news and updates, join our WhatsApp group, Telegram Group, or Discord server. Also, follow us on Instagram and Twitter and Google News for quick updates.
[ad_2]